
Getting Ready to Go Deeper
Reconciled to the likelihood that I might be living in the house on my own for some time pending a roof or mental collapse, it was important to put my own stamp on the place. My ex, being in the design field, had strong ideas about home decor and furniture, and a good amount of the things we bought for the home reflected his taste. My contributions to the look and feel of the house were primarily family pieces I had inherited or was given. After buying Joel’s share of the house from him, everything that was going to his new home went out. With some furniture from the city apartment that came in to fill the gaps and my family things which remained, I was left with a look I dubbed “middle aged post-divorce incongruous”. Having 12 rooms to tackle, I decided to start with my bedroom. It made sense, given that I spent more time there than in any other room, and, when weather and depression patterns cooperated, most. This would be the perfect space to develop and express my own sense of style as a (somewhat) mature adult.
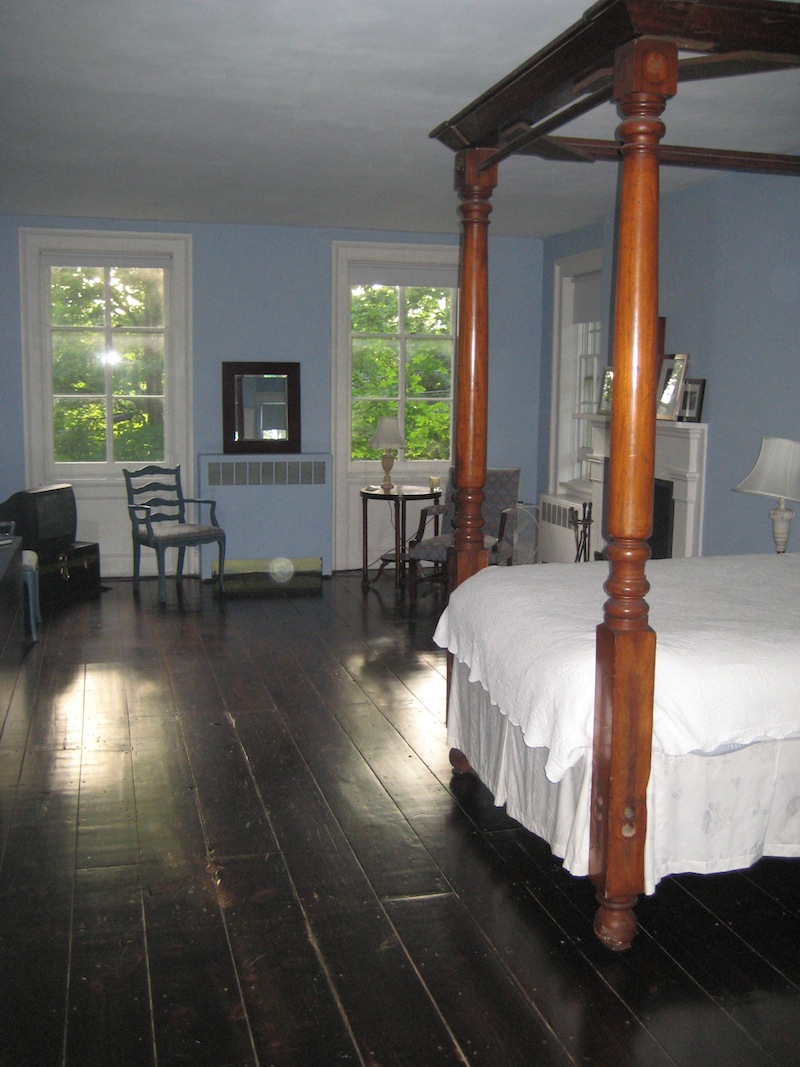
Aesthetic, mental and personal statements aside, there were two practical reasons to make a change in that room. Several years after I painted the room’s walls, hairline cracks had begun to appear. The paint on the walls that were exterior on the house had begun to flake in spots, particularly on the old plaster over a former chimney piece. Over the years working on the house, I had mastered some rudimentary skill in plaster work, and was confident I could fix these. Also, the baseboards in the bedroom bothered me, chiefly because they didn’t sit on the floor. During a 1960‘s renovation, when the hardwood floors throughout the house had been covered with a layer of plywood for the wall to wall carpeting to sit on, the room’s baseboard moulding had been removed from the walls. It was reset to sit flush atop the new plywood subflooring. When we ripped up the plywood and and restored the floors, we did not have the money or the patience to have the moldings taken off the wall again and reset lower, which left a half inch gap between the bottom of the molding and the original floor. It had always bothered me, and now I felt if I was repainting the room, I should address this issue too. With these carrots dangling in front of me, one might think I would have jumped in and eagerly begun the work. However, this would be a weekend project, and with all the different components (plaster repair, molding repair, plus painting, it promised to stretch over 4 to 6 weeks, disrupting my normal weekend routines. Even the healthiest of carrots can dry up and shrivel in that time. What I needed was a big fat yam to hit me in the face.
My yam facial was delivered in the form of a student film titled “Forward and Gone”, several scenes of which were shot in my home in the beginning of 2011. I was approached by the director and producer via a friend. Charmed by their professionalism and youthful earnestness, I agreed to give them a hand and let them shoot at my house for a modest fee. Over ten days, indeed two or three scenes were shot there. In addition, the entire crew used the house as a hotel, equipment storage facility, and production base camp. Part of a larger story and cautionary tale, I will only focus on the detritus left in the shoot’s wake. Though they left their mark on almost every room in the house, the bedroom fared worse than others. The crew did not put nail holes in the walls, as we agreed beforehand. The tape they used as a substitute however, had formed a siamese bond with the paint underneath, and took its new twin with it when removed.
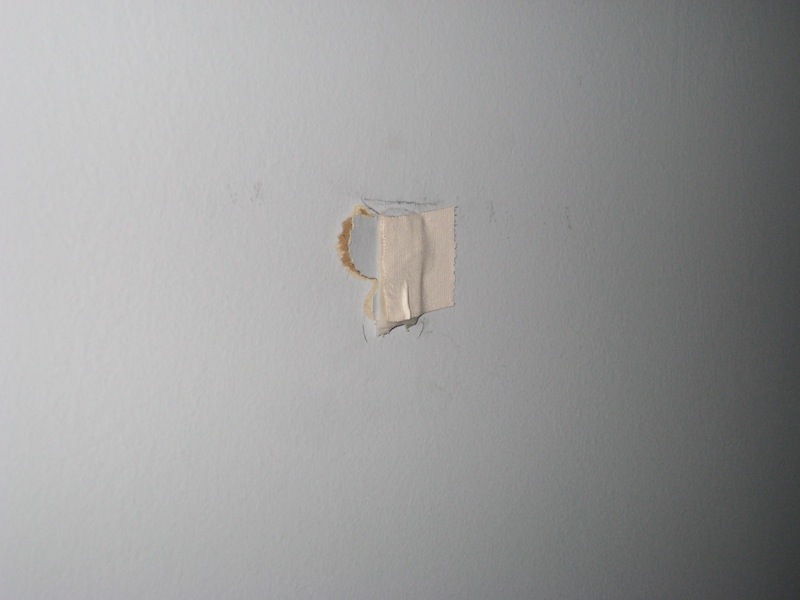
 The telltale signs of tapeI noticed one piece of tape left behind by the crew still adhering to the wall, right over my bed. Upon closer inspection, that piece of tape was actually holding a piece of plaster underneath to the wall.
 At least the tape drew ones eye away from the scratches all over the floors from equipment being dragged over them.
 A strong email to the school and hasty insurance settlement allowed me to have someone come in and re-do the floors soon thereafter. Since all the furniture had to come out of the room to do the floors, the timing was perfect to repair the plaster, fix the moldings and repaint the room as well.
I began with the closet interiors, which I had ignored when I painted the room the first time a decade earlier. There were some cracks I had to patch, and painted the interiors white afterwards. It was a simple, straightforward job. The plaster repair in the room was a bit more complicated. The heavier cracks had to be gouged out and patched. Removing the flaking paint revealed widespread eggshell cracking underneath. I ended up having to put up an adhesive mesh over some parts of the walls to do a skim coat and spot patched others.
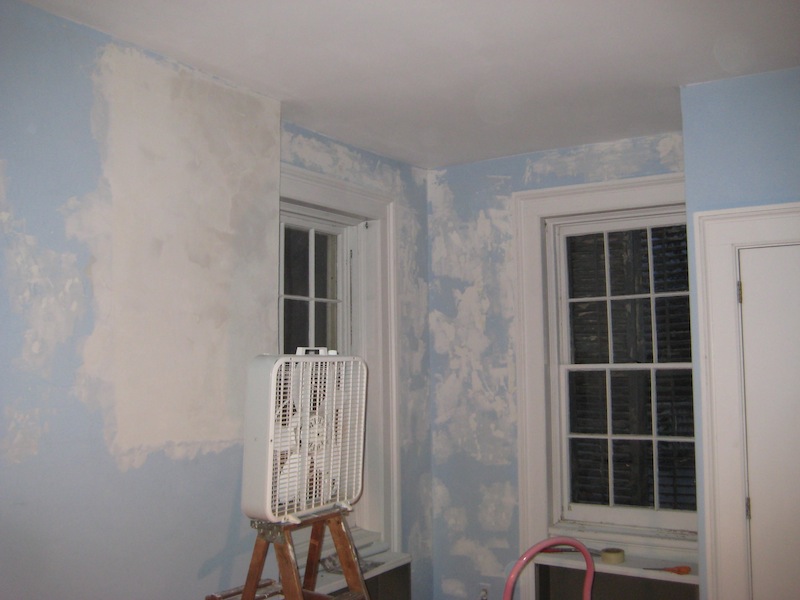 It was a long, somewhat tedious process, leaving me with a room that resembled a baby blue leopards hide. I am proud to state on the this project, while fixing the molding, I ALMOST mastered the the use of a miter saw.
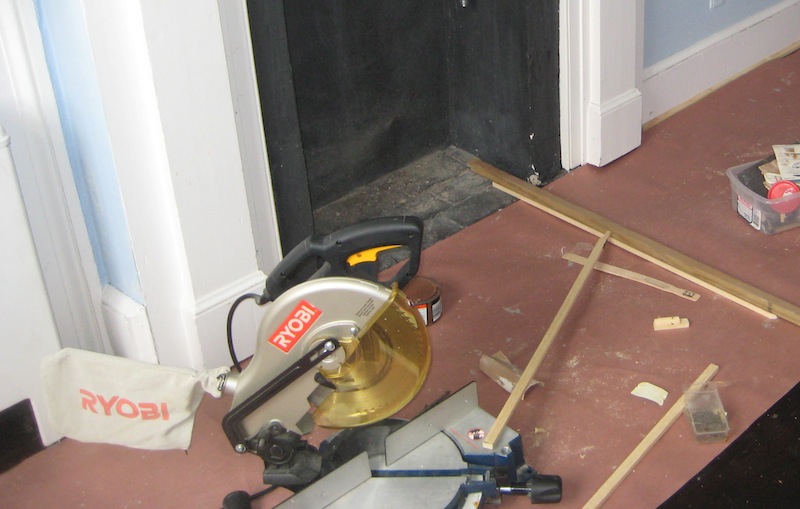 I figured out everything, except how to tighten the blade enough to cleanly cut the wood. No mind as the quarter round molding was so thin, I could lay it down and mark where the cut should be with the turned off miter saw’s blade and then cut by with a hand saw very easily, angls more or less matching.
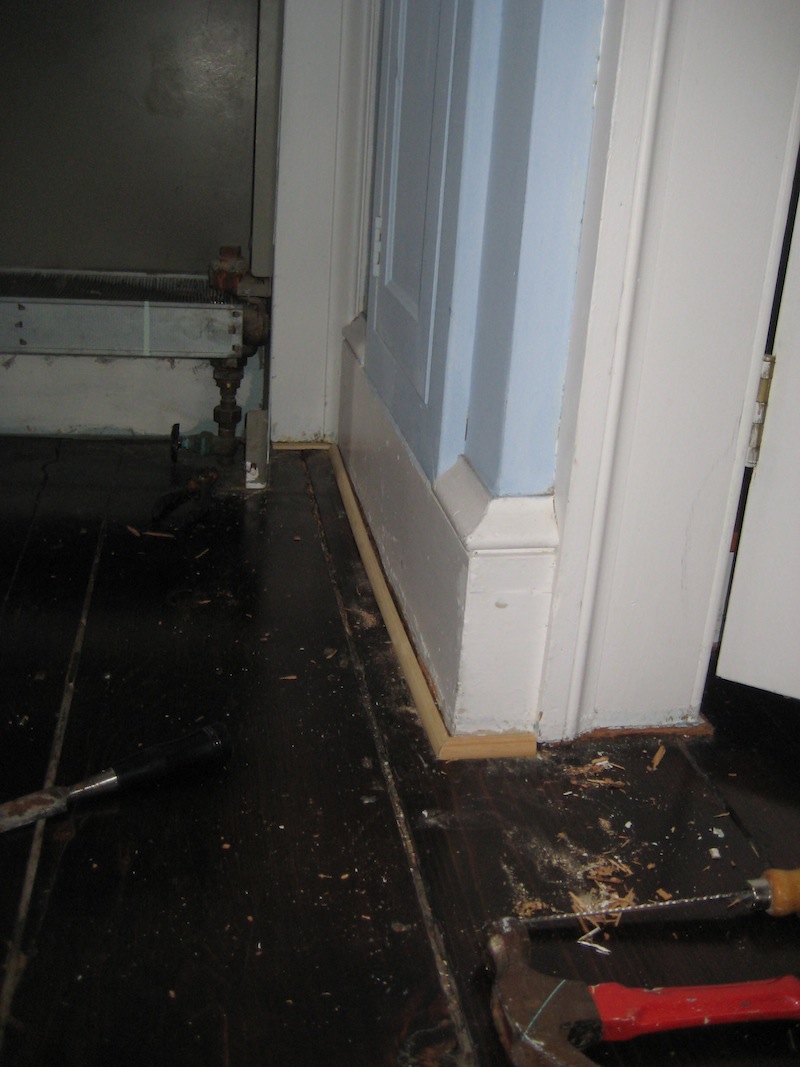 Now with plaster patched, closets a painted a new clean white, and baseboards that actually reached the floor, I was ready to paint the walls a color that I could choose entirely on my own, and express my personality.

Uh oh.